Passer aux informations produits
1 de 3

Jets Vinyl

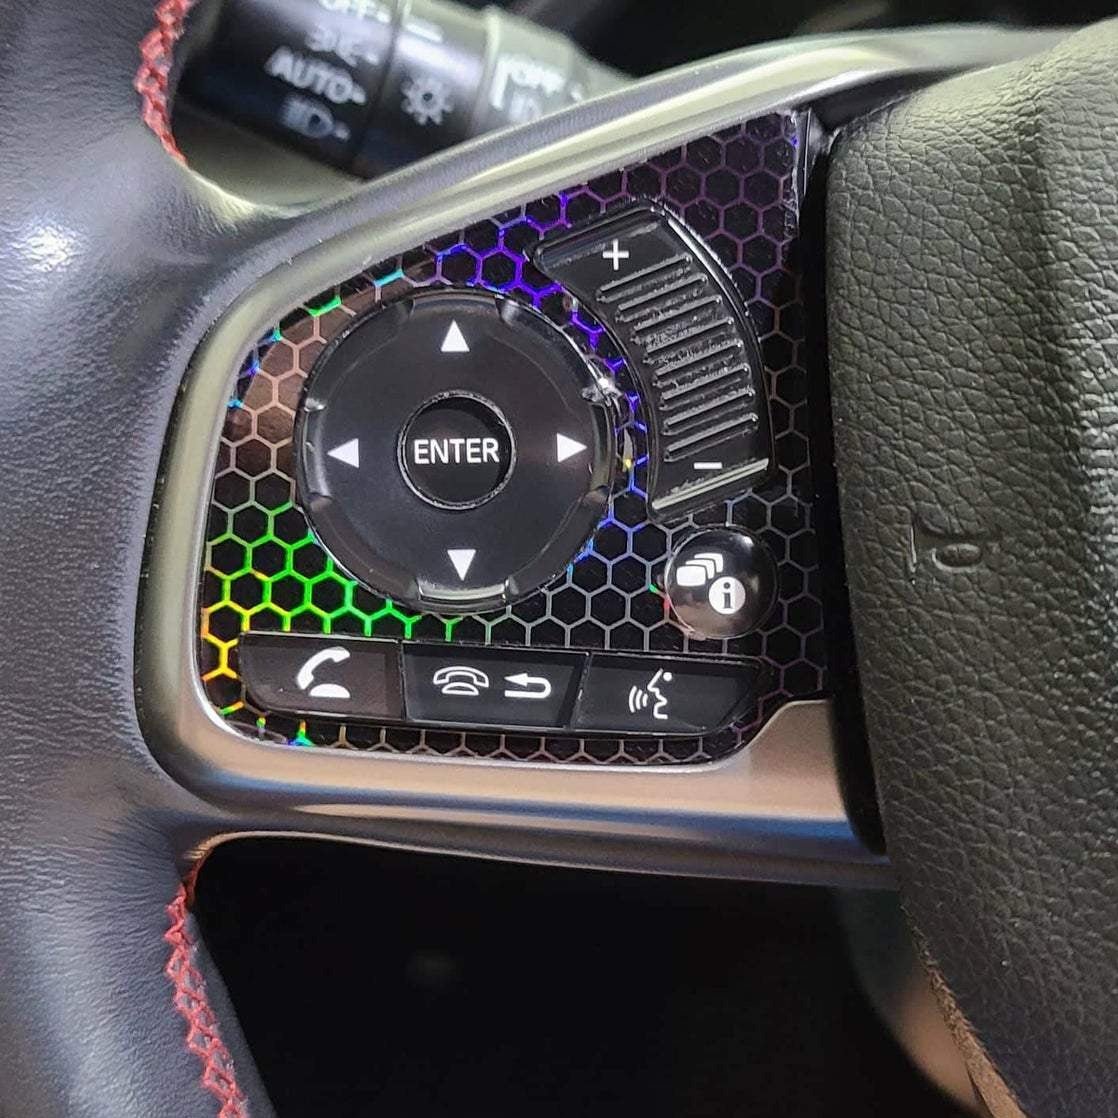
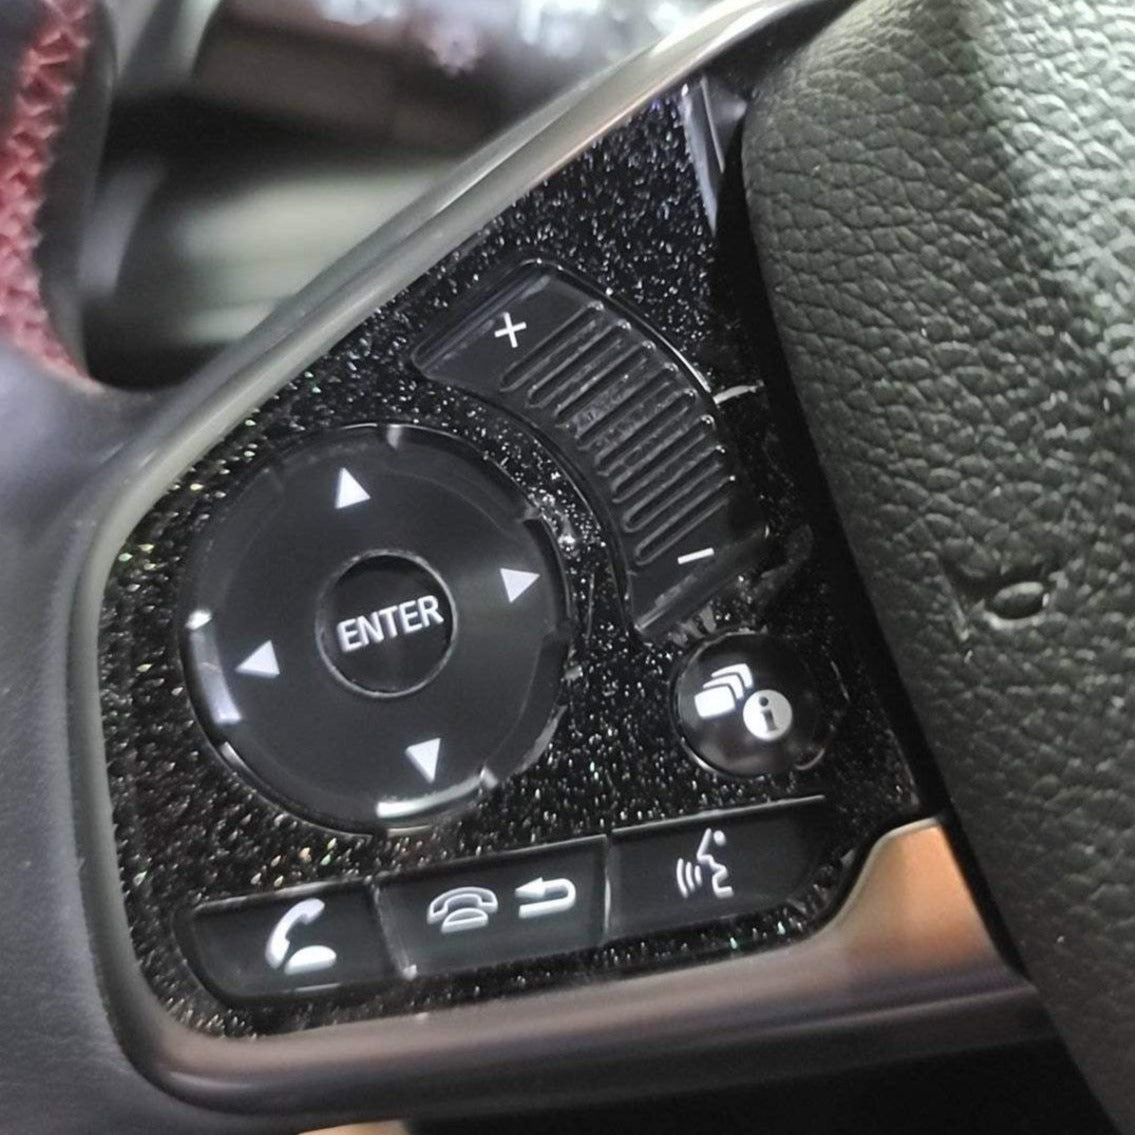
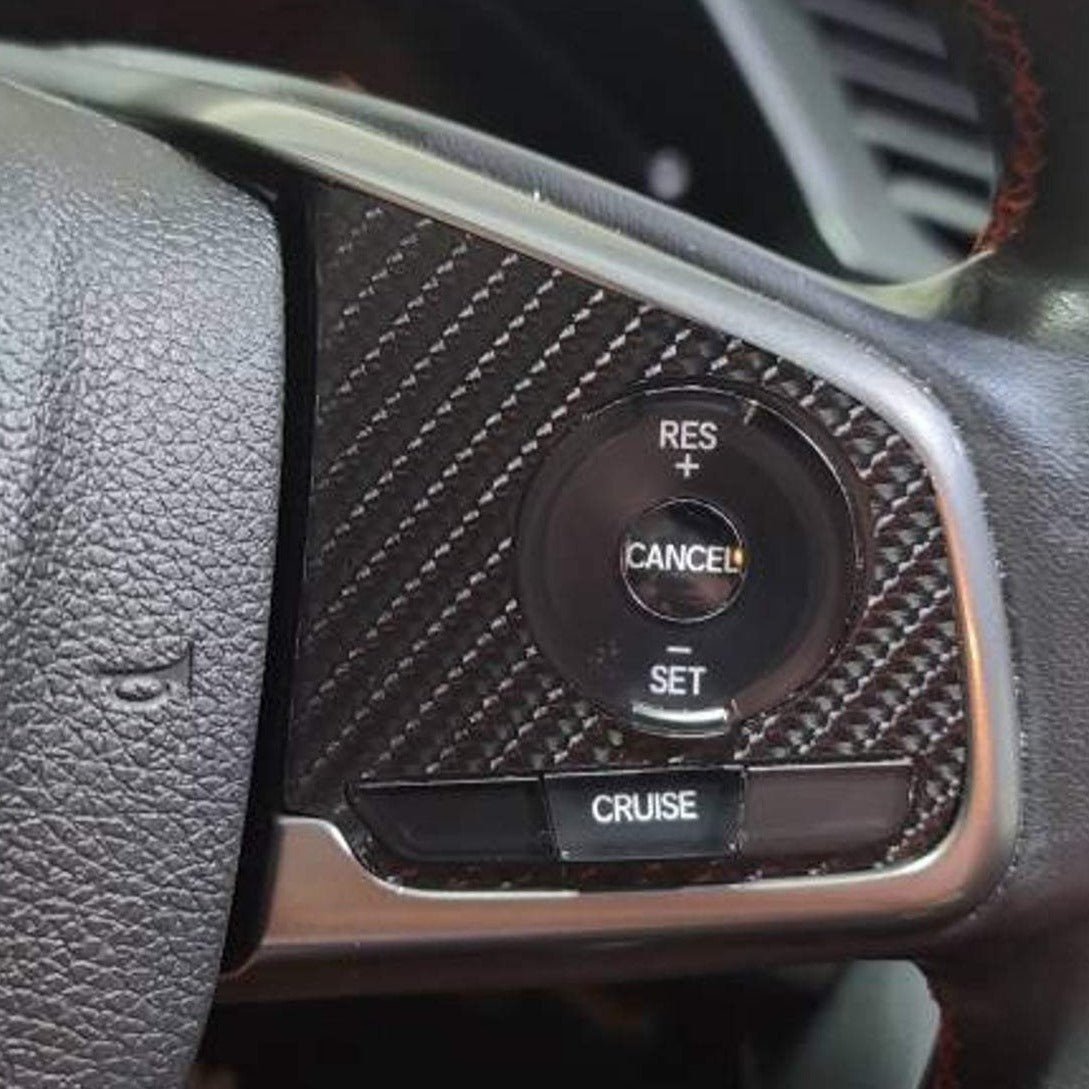
Jets Vinyl Steering Wheel Button Inlays | 16-21 Civic

Jets Vinyl Steering Wheel Button Inlays | 16-21 Civic

Prix habituel $12.00 USD
Prix habituel Prix soldé $12.00 USD
Vente Épuisé
Frais d'expédition calculés à l'étape de paiement.

Earn [points_amount] when you buy this item.

Model
Color

Fits:

  • 2016 - 2021 Honda Civic Base (Coupe, Hatch, Sedan)
  • 2017 - 2020 Honda Civic Si (Coupe, Sedan)
  • 2017 - 2021 Honda Civic Type R FK8

_______

Spruce up your Honda Civic badge with this Steering Wheel Button Inlay combo for your 10th Gen. This combo comes with 1x Left Side Inlay, and 1x Right Side Inlay. You don't need to select Quantity 2 for the pair. 

****DISCLAIMER****

THESE ARE NOT MEANT TO BE PERMANENT AND ARE A TEMPORARY AESTHETIC ADD ON FOR CAR EVENTS, SHOWS, ETC...LIFE OF THE PRODUCT WILL DEPEND ON VARIOUS FACTORS SUCH AS FREQUENCY OF WASHES, WEATHER, AND OTHER ENVIRONMENTAL CONDITIONS. ALL SALES ARE FINAL.

Afficher tous les détails

Customer Reviews

Based on 4 reviews
100%
(4)
0%
(0)
0%
(0)
0%
(0)
0%
(0)
J
Justin Plaizier
Looks great

Goes on nicely, easy to reposition if needed. A good way to dress up the interior a bit.

M
Mateusz
It's ok

Install was much easier than on shifter overlay, looks good, so I'm glad I bought it :)

W
Wil
Not perfect coverage, but close enough

If you look closely at the product images here, you can see that these do not give 100% coverage of the area, there is a rounded bit at the top corner for example. Even so, I'm happy with how it came out. Regardless of the disclaimer, there is no sign of the vinyl lifting or coming off yet a few weeks down the road, so that isn't something I'm worried about. I think the care taken in cleaning beforehand, the temperature at the time, and the care taken in making sure that it's fully adhered before calling the job done will affect its longevity. I would not install this when its cold for example.

Some tips: Unlike me, I would recommend you wet the sticky side of the vinyl slightly, and the surface, before starting. The vinyl will slide around super easy if you do, so you can adjust it until it's perfect. Even if you don't wet it, the vinyl adhesive is very forgiving, you can lift and adjust it, and it will keep its stickiness, but if you do wet it first, it will slide around very easily. The only downside there is it will have to dry before it is set in place, so only VERY slightly wet it (damp would be good), do it on a hot day, outside in the sun if you can. Make sure you clean the area well and dry it before starting.