Passer aux informations produits
1 de 4

Jets Vinyl

Jets Vinyl Chrome Delete Kit | 16-21 Civic

Jets Vinyl Chrome Delete Kit | 16-21 Civic

Prix habituel $35.00 USD
Prix habituel Prix soldé $35.00 USD
Vente Épuisé
Frais d'expédition calculés à l'étape de paiement.

Earn [points_amount] when you buy this item.

Color

Fits:

  • 2016 - 2021 Honda Civic Base (Coupe, Hatch, Sedan)
  • 2017 - 2020 Honda Civic Si (Coupe, Sedan)

_______

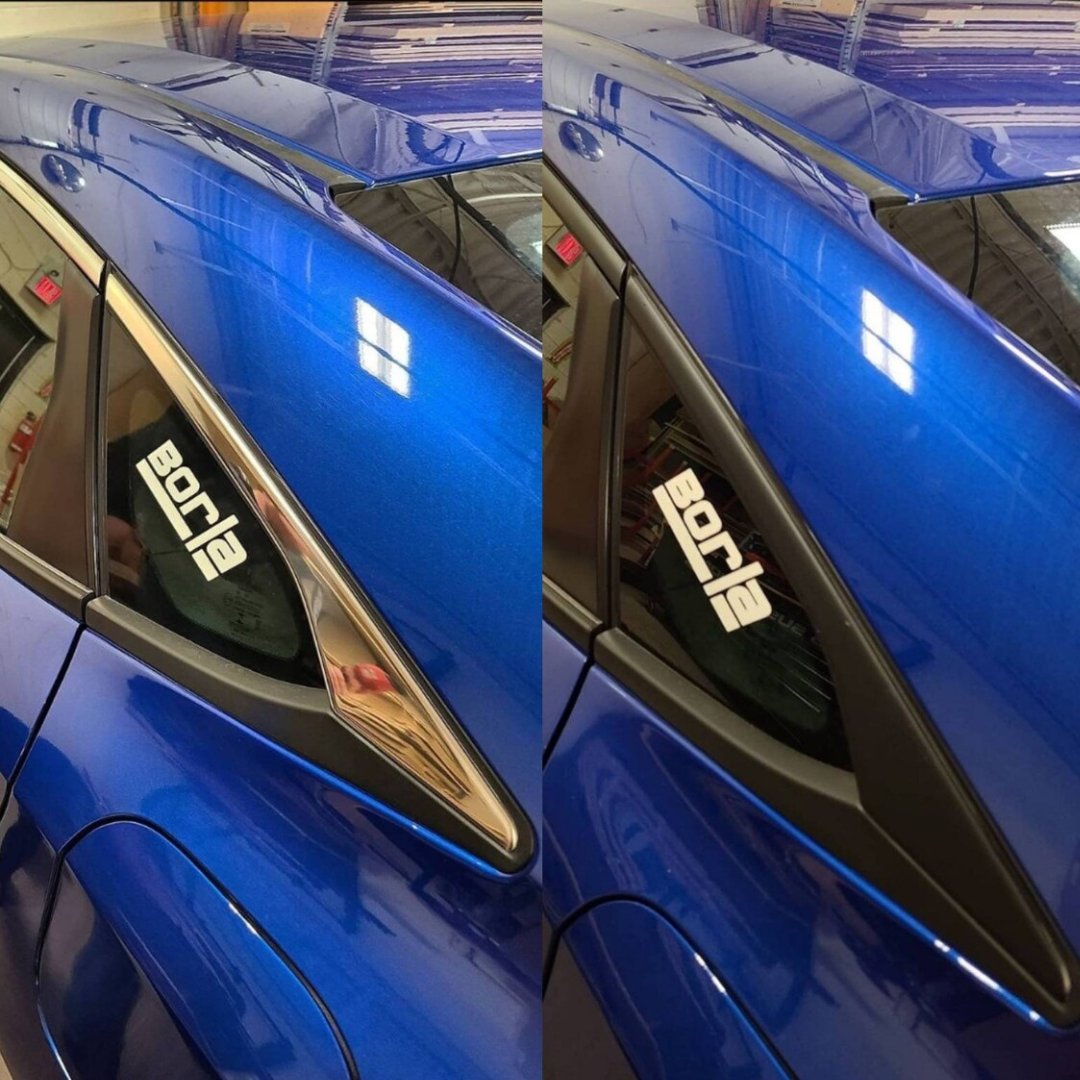
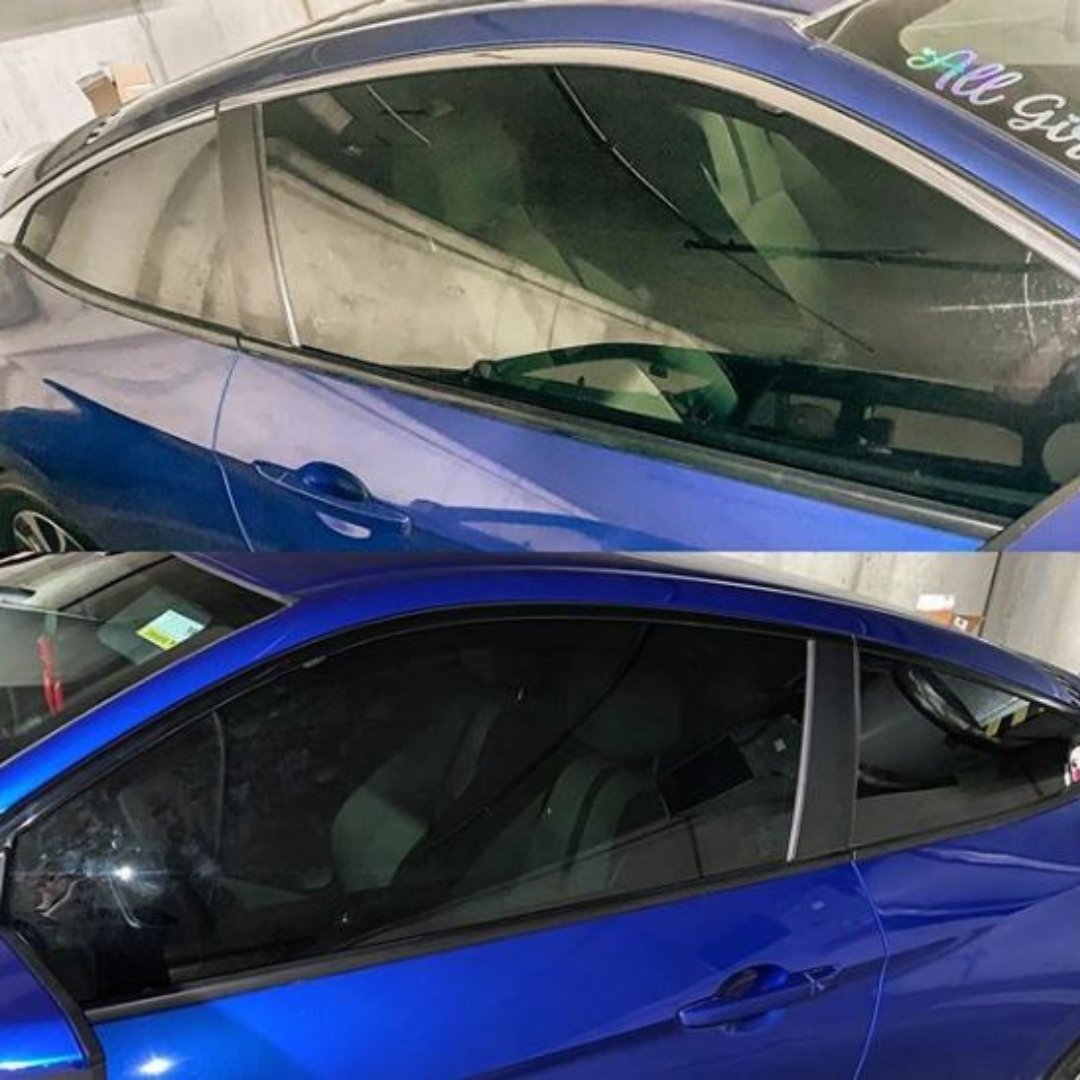
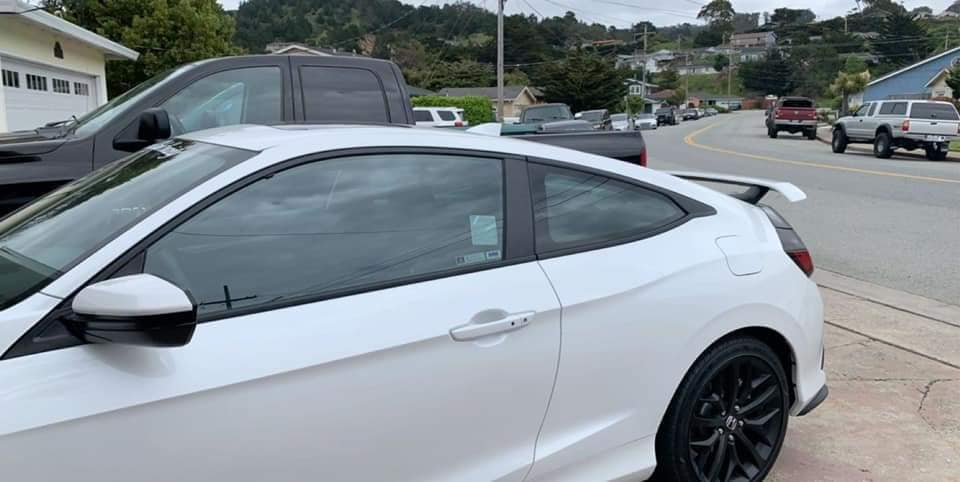
Cover up the atrocious Chrome that ruins the look of the side profile! Jets Vinyl Chrome Delete Kits are perfectly measured and cut to fit your vehicle - as with any decals / vinyl always clean the surface for the best possible adhesion.

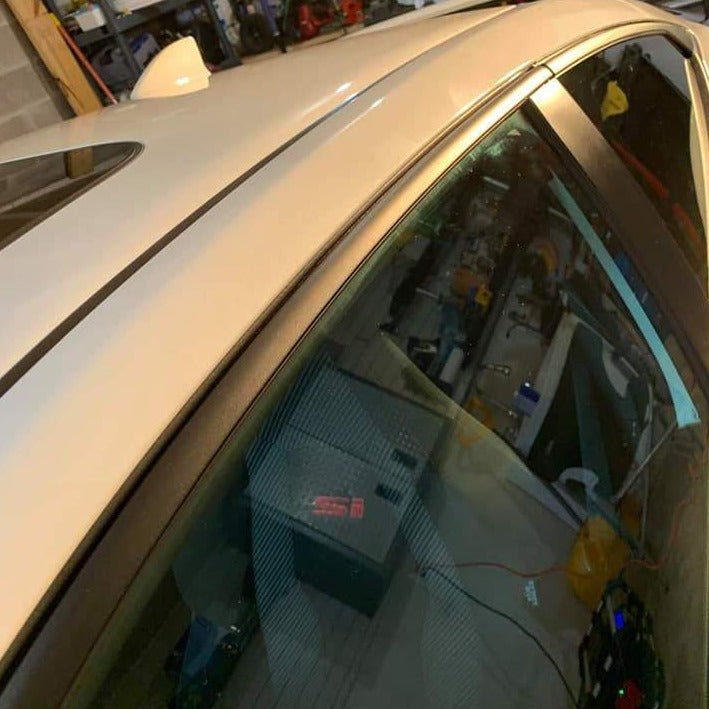
The kit includes all upper window trim pieces that cover up factory chrome pieces.

ALL SALES ARE FINAL. Please follow install instructions and perform in temperatures above 18C / 65F for best results.

Install Video:

https://www.instagram.com/tv/CFALZJiHGJ2/?utm_source=ig_web_copy_link
Afficher tous les détails

Customer Reviews

Based on 7 reviews
86%
(6)
14%
(1)
0%
(0)
0%
(0)
0%
(0)
K
K.E.
Order had hiccups but was resolved

Product is good, customer service is helpful.

J
Justin Walberg
First time using vinyl

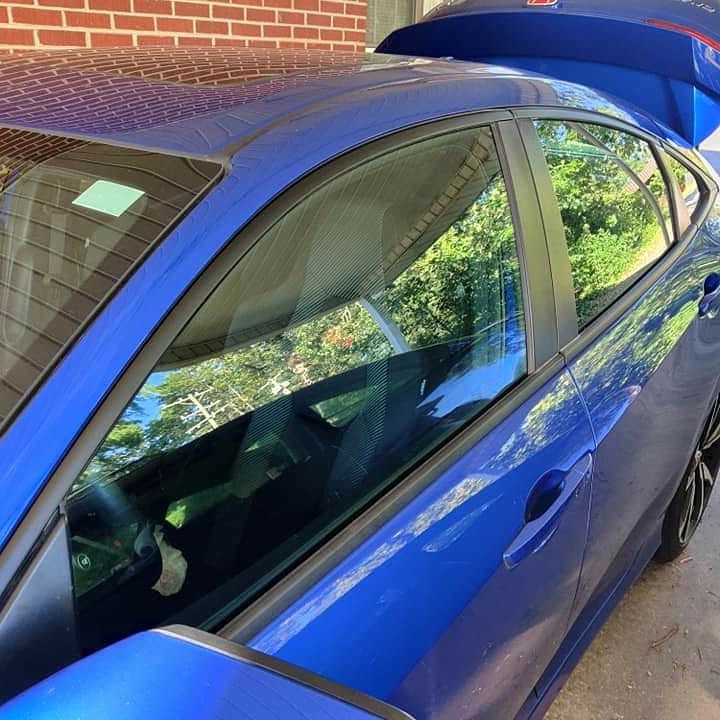
Turned out great! Used matte. Makes the civ look that much better without that cheap chrome. Holds up to extreme cold and high pressure wash. Was going to paint it but it definitely wouldn't have looked as clean.

Thank You, Justin!

Really appreciate you attaching the picture as well :)

H
Hayden

Easy install, having a chrome delete on my si brought the car out a little more.

T
Tyler Batista
Good stuff

Put this on changed the car completely cheap and easy to put on!! make sure to have the proper vinyl wrap tools makes it very easy!!

W
Wil
Even though I screwed up some it still looks great, and no trouble washing etc.

Other than the little interior vinyl bits I got for this car, I had never done any vinyl at all. I was really worried about messing up, to the point I called around for quotes to get someone else to do it for me. Forget that, I ended up doing it myself, and it came out pretty well, though not perfect.

- clean the surface with alcohol or mild soapy water, and dry it before starting, to remove dust.
- wet the vinyl and the surface with JUST water, no soap.
- Do one piece at a time, and start from the rear at the rear and work your way forward, and start from the front at the front and work your way back. There is a little bit of extra material at the end, so you'll have some room for error. Cut off the excess and tuck the end.
- the wet vinyl is easy to move around to get the perfect fitment. The cut is excellent and gives full coverage.

I did the driver's side first, and it came out good but not perfect. I did not wet the vinyl. I did the passenger side last, and it came out 100% perfect, after wetting the vinyl and with the practice the other side gave me.
I don't know for certain if this is the vinyl that releases air from underneath so it eliminates bubbles, but... I had a couple of bubbles and they're gone, so... it must be?
On a couple of areas I used a hair dryer, and it did shrink the vinyl, which helped in a couple of spots where I was having trouble tucking it under the rubber trim. This should not be necessary, but you CAN shrink it with heat effectively.